
C# is one of the popular programming languages that can be used for almost any programming task. In this article, we will cover the complete process of web scraping using C# framework called ScrapySharp and .NET core.
Here, we will be scraping craiglist.org which contains classified ads and community notices of urban areas. We will go on to scrape all the classified ads about services in Los Angeles.
What is ScrapySharp?
As stated above, ScrapySharp is an open-source web scraping library for C#. It is also a NuGet package that contains a web client to simulate a web page and HTMLAgiltyPack extension which allows you to select HTML elements of a web page using CSS selectors. Thus, ScrapySharp reduces the workload of scraping significantly.
Prerequisites
Before getting started with c# web scraping, you need to set up the development environment by installing the following software.
- Download and install Visual Studio Code.
- Download and install .Net core.
- Install C# extension in Visual Studio Code.
Web scraping with C# using ScrapySharp
Let’s start by creating a new directory for our project which I named “ScrapySharp_Scraper”. Open VS Code and navigate to the newly created directory through its terminal. Next, run the following command to create a new console app for our project.
dotnet new console
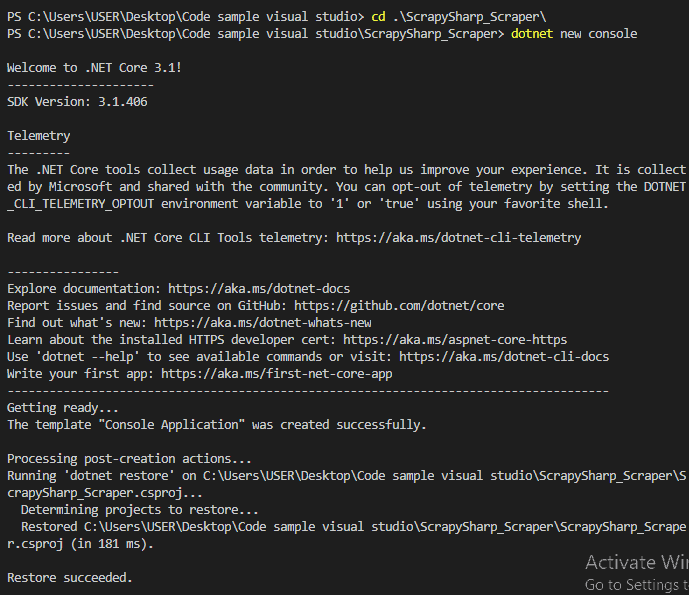
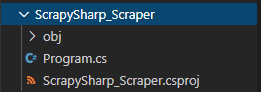
The above command will create new project files including the Program.cs. We will do all our coding in the Program.cs file.
Configuring Debug settings
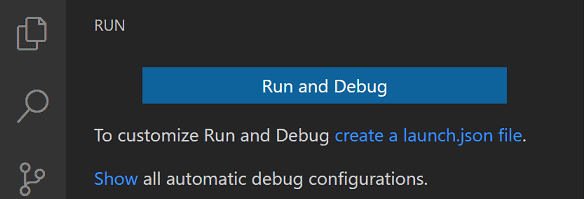
Now let’s configure the debug settings in the launch.json file in order to debug and run the scraper. Click on the Debugger icon in the side menu of the VS Code and click on “create a launch.json file”.
Next, you will see a drop-down where .Net Core Launch (console) is selected as the debugger by default.
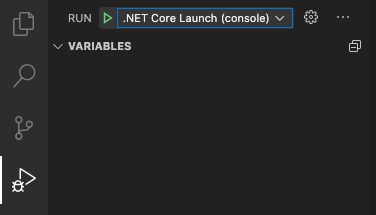
Then click on the Settings icon next to the drop-down to open the launch.json file.
launch.json file
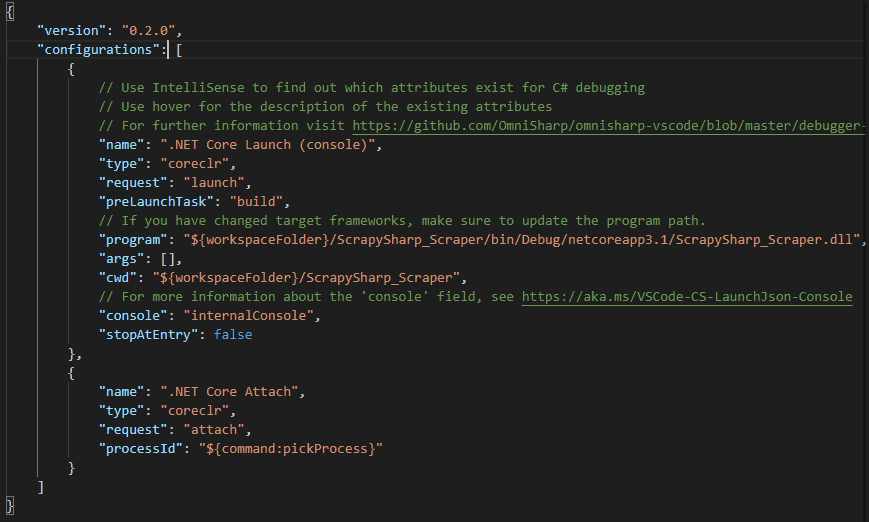
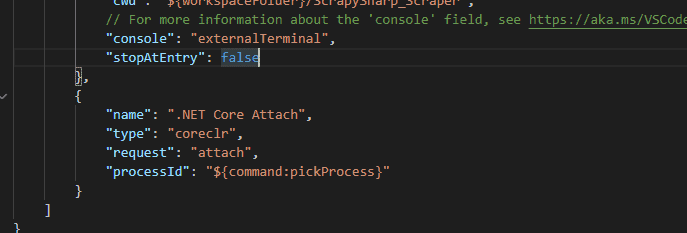
Now, change the “console” property from “internalConsole” to “externalTerminal” so that you can capture the inputs.
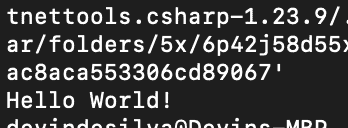
Click on the play button to test if the configurations work properly.

This will launch the terminal or command prompt with the output “Hello World!” as in the Program.cs. If you get a similar output in an external command line, you can verify that the debugger is successfully configured.
Adding ScrapySharp package
Now it’s time to add the ScrapySharp Nuget package to the application. To do that, open the VS Code terminal and execute the following command there.
dotnet add package ScrapySharp

Import Dependencies
Now it’s time for coding. Start by importing required dependencies in our Program.cs file. However, make sure to add them under the “using System;” statement which is generated during the creation of the application.
using System.Collections.Generic;
using HtmlAgilityPack;
using ScrapySharp.Extensions;
using ScrapySharp.Network;
Now you need to create an instance of the ScrapySharp ScrapingBrowser which acts as a real browser to navigate into web pages. This instance will be created in the global scope(above Main method) as you have to use it in several functions.
static ScrapingBrowser _scrapingbrowser = new ScrapingBrowser(); Writing a function to get the HTML Content
Our next step is to create a function called GetHtml() to get the HTML content of a web page using the ScrapingBrowser object. ScrapingBrowser object has a function called NavigateToPage() which returns the HTML content of a webpage when we pass the URL to it.
static HtmlNode GetHtml(string url){
    WebPage webPage = _scrapingbrowser.NavigateToPage(new Uri(url));
    return webPage.Html;
}
Identifying & Parsing the data elements
Now, let’s have a closer look at the web page and identify the data which needs to be scrapped. Open a browser and navigate to the Craiglist webpage using this link.
On the webpage, you will notice that there is a list of links to the classified ads related to services in Los Angeles, as shown below.

Let’s click on a particular link of an ad and check its content.
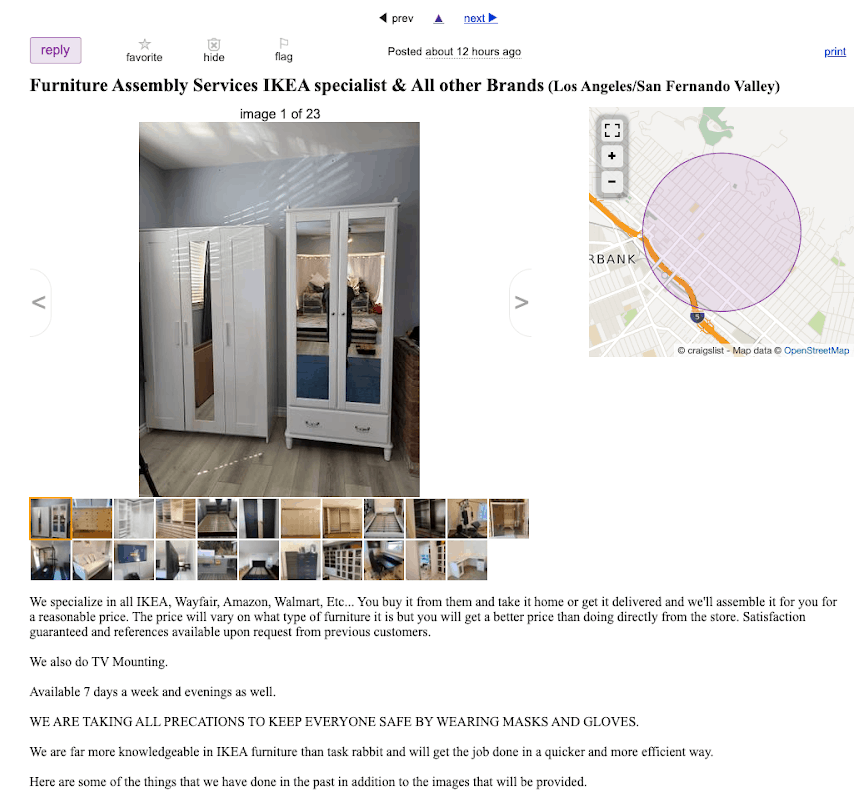
Here, we will scrape three things from each advertisement.
- Title
- Description
- URL of the advertisement.
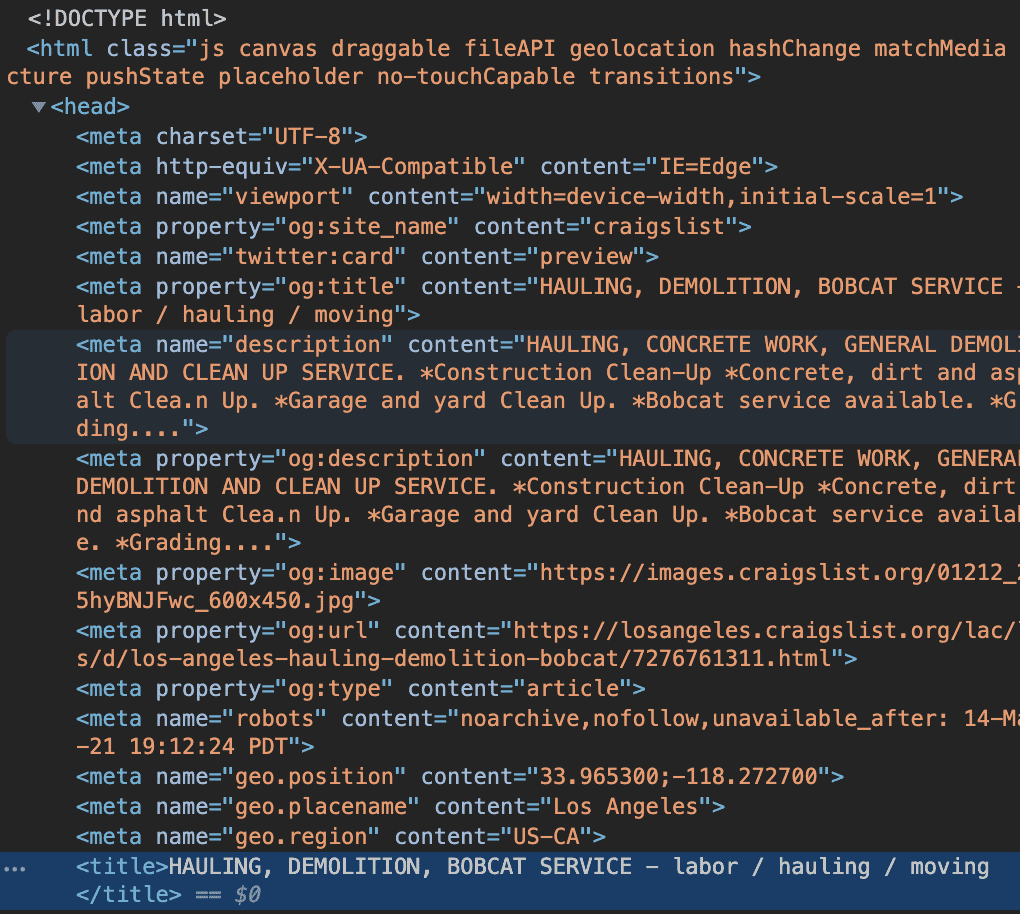
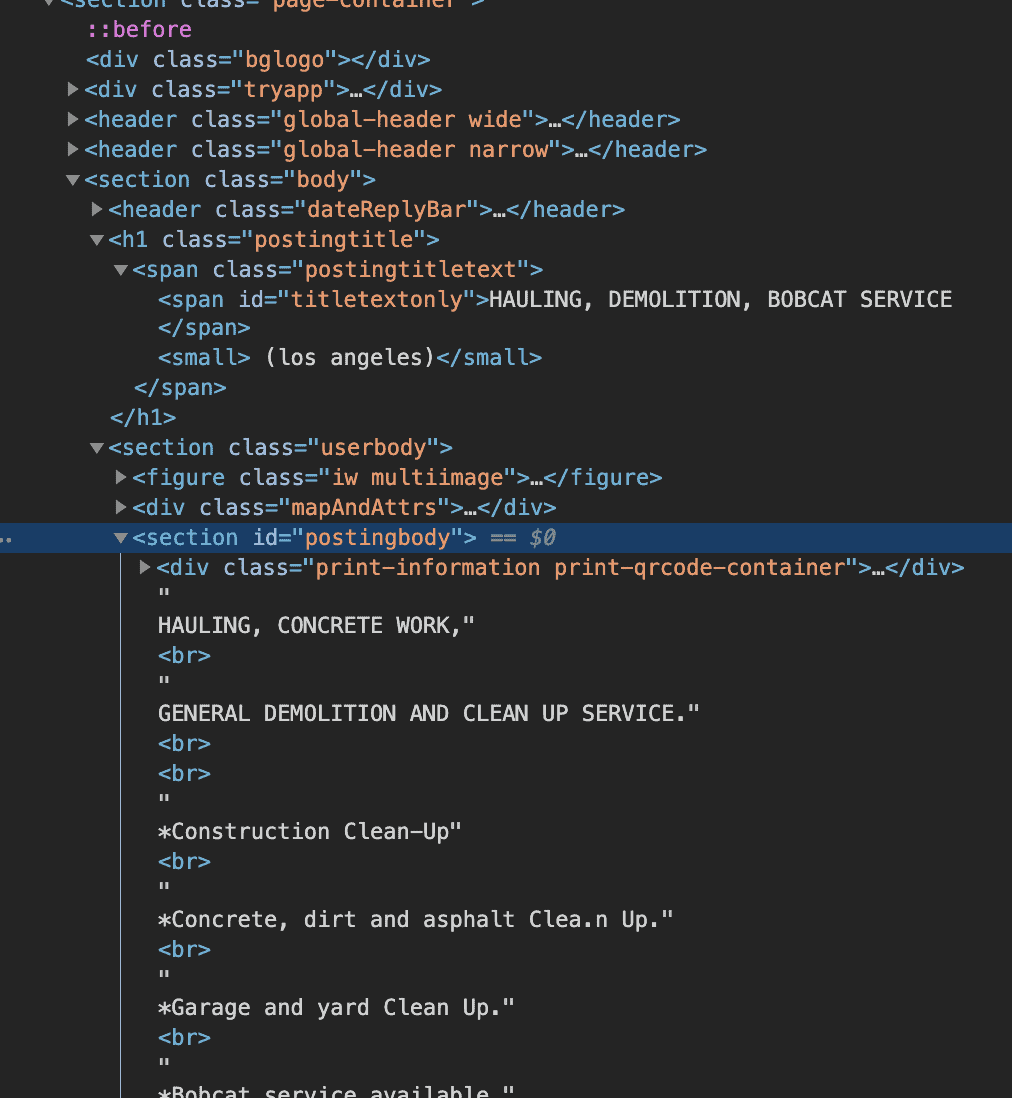
We will use the XPath to extract these elements. By inspecting the webpage we could identify the following XPaths Title and Descriptions. (URLs will be taken separately)
Title – html/head/title
Description – html/body/section/section/section/section
These elements can be found as shown below. To get the Xpaths of these elements, you need to list the elements starting from the HTML tag to the element which carries the data.
However, to get this information you have to navigate from the main page to each advertisement page. So, We will create a GetAdLinks() function to parse all the advertisement links. This function will get the HTML content returned by the GetHtml() function and parse all the links in it using the selector (<a>) to and the CssSelect() function.
To ensure that these links lead to an advertisement page, the href attribute of each link will be checked to see if it contains a .html extension. The values of the href attributes will be saved in a List of strings.
Here is our GetAdLinks() function.
Let’s get all the links to advertisements pages by invoking the GetAdLinks() function.
var adLinks = GetAdLinks("https://losangeles.craigslist.org/search/bbb?"); Now we need to scrape the title and the description by visiting each advertisement page using the above links.
To hold the scraped values, we will create a new class called AdDetails. Inside the class, we define three properties to hold the values of title, description and URL.
Now we need to create a method to loop through each link and scrape the data we need. We will use the SelectSingleNode() method along with the innerText which to return the text content when we pass the XPath of the HTML element. Then we will assign those values to the properties we defined under AdDetails(AdTitle, AdDescription, AdUrl) class.
The following code does that job. The replace() method is used to remove some unwanted strings like tags from the descriptions. The GetAdDetails() function returns all the scraped data as a list of AdDetails objects.
Now let’s call the GetAdDetails() function inside the Main method. Pass the adLinks variable as an argument to the GetAdDetails() method and assign returning AdDetails list to the lstAdDetails variable.
Adding a filter to the C# web scraper
By now, you could scrape all the titles, descriptions and URLs of all the service advertisements. However, this may result in scraping lots of unnecessary data including irrelevant and spam advertisements. Therefore, searching for a specific type of service within this large scraped data set will be difficult as well as time-consuming.
If you could add a filtering feature to this scraped data set, it will save lots of time. So, you will be adding a filter to the scraper, which you can use to filter for a specific type of service using a given keyword. This keyword will be given through the terminal as it’s the normal practice.
In this code, Contains() method will check if the keyword exists in the Title and Description and they will be added to the list only if they contain the keyword.
Notice that the GetAdDetails() method now accepts one more parameter; Keyword. Furthermore, you can use the ToLower() method to ignore casing in the user’s input and convert all the characters to Lowercase.
Now update the Main function to receive the keyword through the terminal using Console.Readline() method.
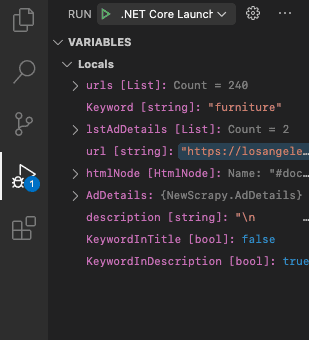
Once you run the code you will receive the following prompt on the terminal. Lets filter for services related to furniture by inputting “furniture”.
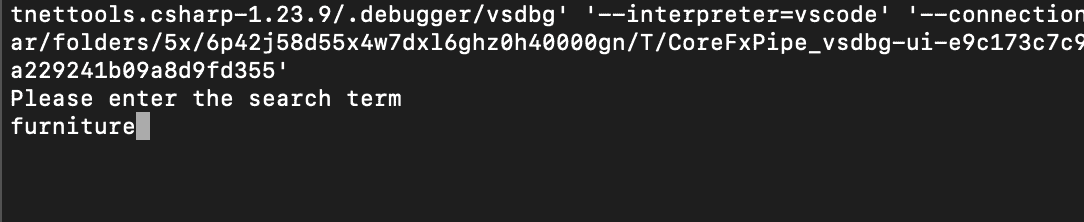
Now, closely explore the variable section of the debug area. All the scraped data elements consist of the keyword either in the title or the description.
Storing data in CSV format
Our final task is to store these scraped data in a suitable format. I will store them in CSV format as it’s the most popular format.For that, you will need NuGet package called CsvHelper.
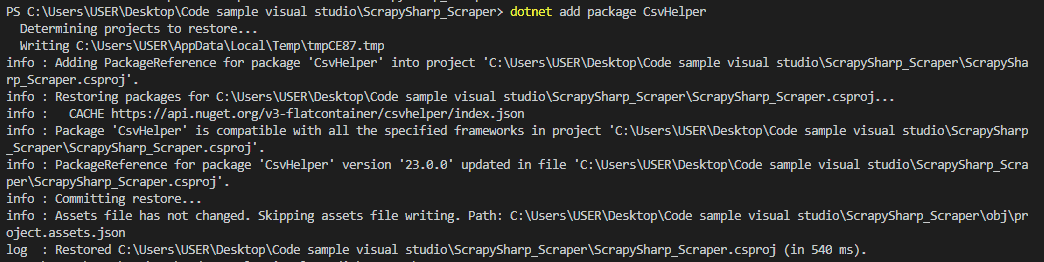
Run the following command in the VS code terminal to download and install CsvHelper.
dotnet add package CsvHelper
Now, Import the following dependencies in your Program.cs file.
using System.IO;
using System.Globalization;
using CsvHelper;
Next we will export the scraped data into a CSV file by writing ExportAdsToCsv() function. Within that function, we will use the WriteRecords() function that can take the scraped data list and write it to a CSV file. We will name our CSV file using the keyword, date and time it is created.
Now, call this method inside the Main function and pass the list that contains Ad details.
The complete code
Finally, you have successfully created your first web scraping project in C# using the ScrapySharp NuGet package. Additionally, you have scraped a web page and stored the results in a CSV file. The approach you followed here to scrape the web page can be used to scrape any other web page you need.